Studio Editor Guide
Create professional audio productions with SonicVox's multi-track studio editor.
Overview
The Studio Editor is a browser-based multi-track audio editor that combines:
- Text-to-Speech blocks
- Sound effect blocks
- Imported audio files
- Timeline-based editing
Getting Started
Create a Project
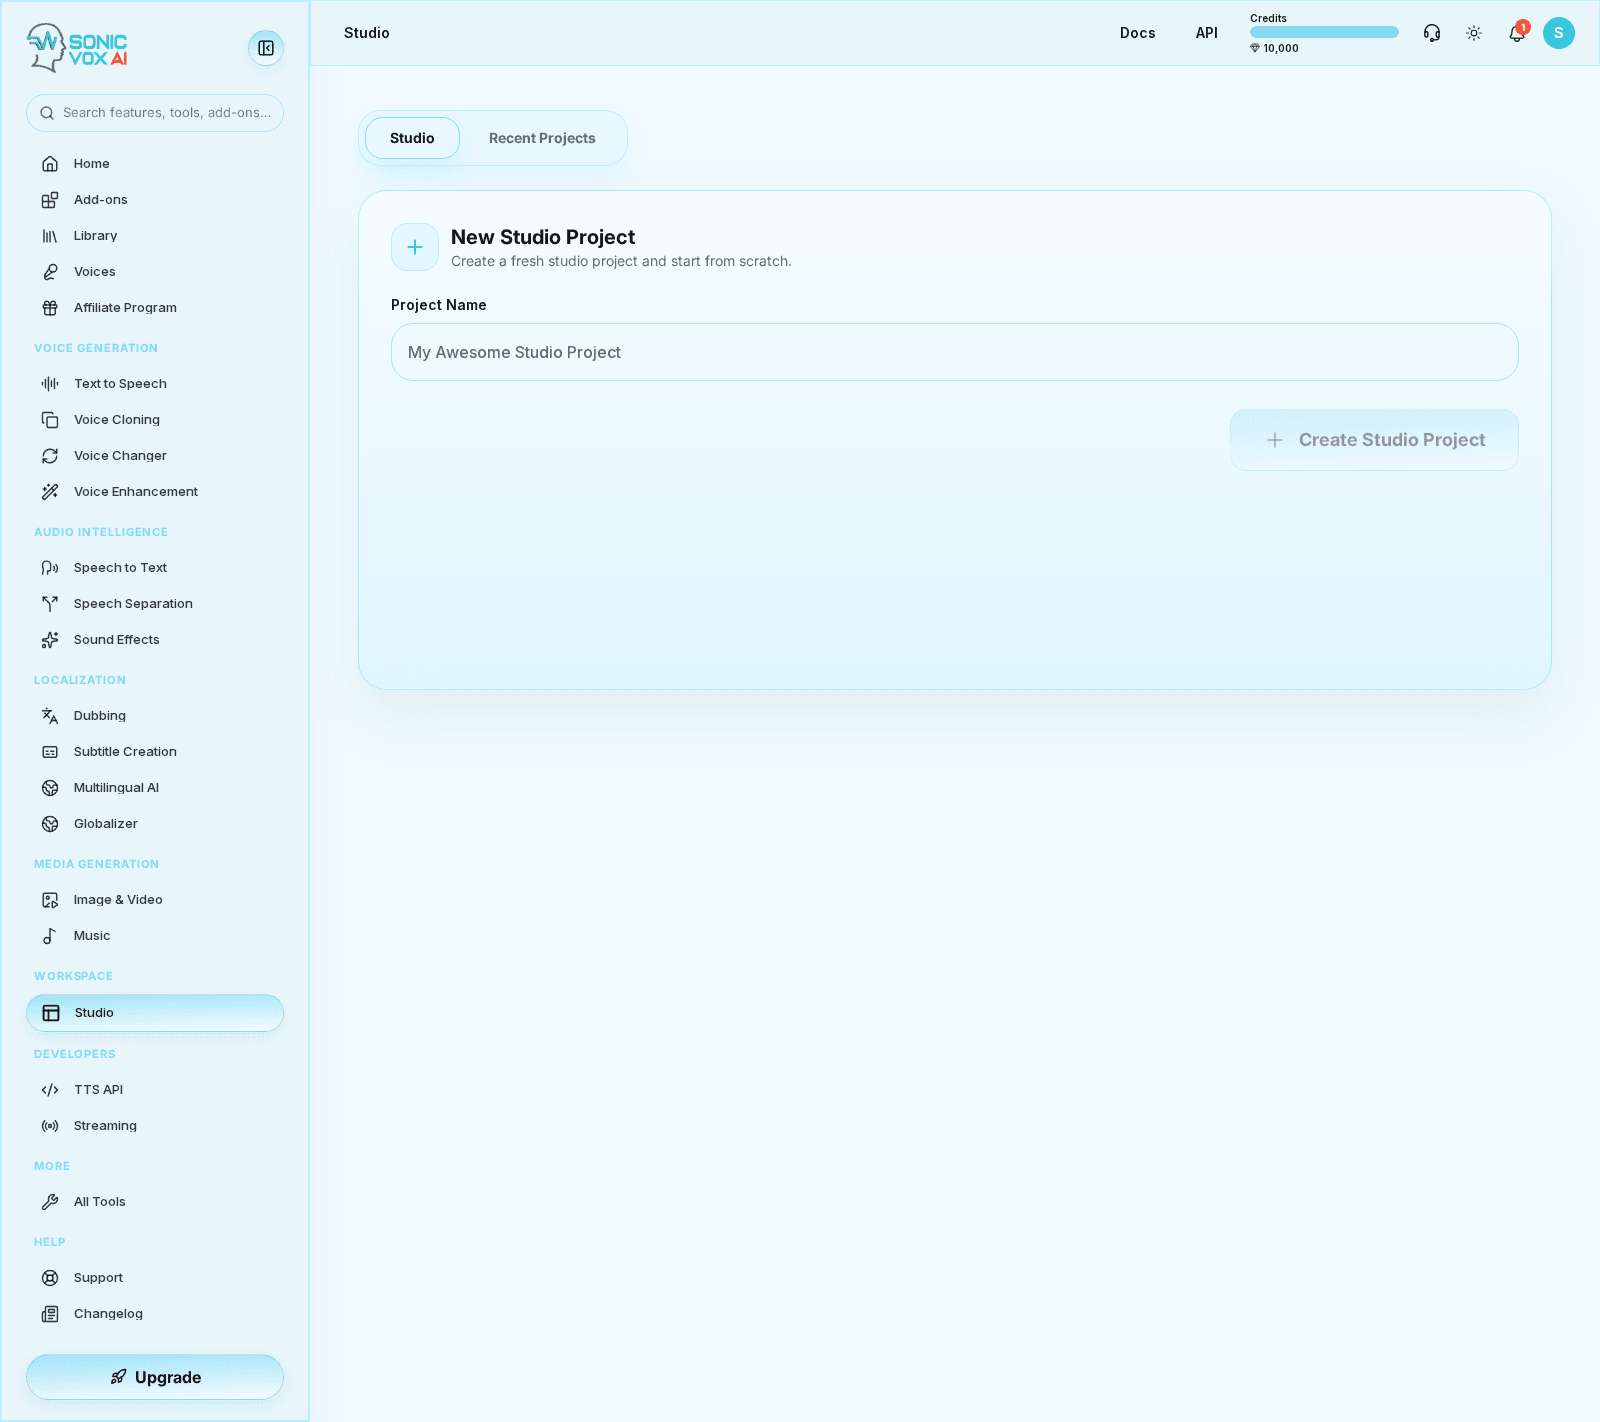
- Navigate to Studio in the sidebar
- On the New Studio Project panel, type a name into Project Name
- Click Create Studio Project (or press Enter)
Work you already started is under the Recent Projects tab beside it.
Your plan caps how many Studio projects you can keep at once. Past the cap, creating another one is refused with a message naming the limit and your plan — delete a project you no longer need, or upgrade.
Add Content Blocks
Text Blocks
- A new project opens on an empty script. Click Add Paragraph to write the first one
- Press Enter inside a paragraph to start the next one — it splits the text at your cursor
- Pick a voice for the selected paragraph in the Edit tab of the right sidebar
SFX Blocks
- Open the Sound Effects tab in the right sidebar
- Search the library and click an effect to drop it in, or click Generate New Sound Effect, describe the sound, and Add to Timeline
Audio Import
- Open the Imports tab in the right sidebar
- Under Add Audio, choose Upload for a file on disk, Record to capture from your microphone, or Text to Speech / Voice Cloning to pull in something you already generated
- The file picker accepts any audio format your browser recognises — WAV, MP3, M4A, FLAC and so on. A single upload is capped at 100 MB, and imports count against your plan's storage quota
Timeline Features
Block Arrangement
- Drag blocks to reorder
- Adjust start times
- Trim durations
Playback
- Click Play to preview
- Scrub through timeline
- Real-time waveform display
Edit Panel
When you select a paragraph, the Edit panel shows:
- Selected Paragraph - A read-only preview of the text; edit the words in the paragraph itself
- Volume - Adjust from 0% to 200%
- Text Style - Body text or Heading 1-4
- Voice - Change the speaker and the model
- Speech Status - Generation progress, with play, download, and a Text toggle that shows the same read-only preview
Generating Speech
- Write your paragraphs and choose their voices
- Click Generate All in the toolbar to render every paragraph that has no audio yet — the button counts through them as it goes
- Or just press Play: playback generates each paragraph as it reaches it
- Preview a single paragraph from Speech Status in the Edit panel
Keyboard Shortcuts
| Key | Action |
|---|---|
| Space | Play/Pause (when you are not typing in a paragraph) |
| Enter | Split the paragraph at the cursor — this is how you add the next one |
| Backspace, at the very start of a paragraph | Merge it into the previous paragraph |
| Delete or Backspace, with a timeline clip selected | Delete that clip |
| Ctrl+S | Save the project name (your content saves itself) |
| ? | Show the full shortcut list |
Export
Click Export to combine every track into one file.
- Audio - MP3 (the default) or WAV
- Video - MP4 or WEBM, offered once the project has a video attached, with an optional Burn Captions toggle
- Export Scope - the whole project, or one chapter at a time once you have chapters
- Optional metadata (title, author, ISBN) can be written into the file
Projects built on cloned or high-fidelity voices are combined as a master WAV regardless of the format you pick, so quality holds across paragraph seams.
Tips
- Write in short paragraphs - Easier to edit and regenerate
- Preview each block - Before exporting final mix
- Don't hunt for a save button - Paragraphs, timing, and block settings persist as you edit; the Save button and Ctrl+S only push the project name
- Use SFX for transitions - Adds polish between scenes